Skip to content
Home
Blog
Downloads
Skyrim Legacy Edition
Modder’s Resource
Tasheni Followers One For All And All For One Part 1
Tasheni Followers Credits
Tasheni’s The Isles Of Teia LE
Tasheni’s Winterdogs LE
The Isles of Teia with The Pride of Teia
Skyrim Special Edition
Tasheni’s Ethnic Winterclothes SE
Tasheni’s The Isles Of Teia SE
The Isles Of Teia Credits
The Isles of Teia Spoiler
Links
Media
Gallery – Tasheni’s Winterdogs
Gallery – The Isles of Teia Dungeons and Interior
Gallery – The Isles of Teia Landscape
Gallery – The Isles of Teia Water Life
Gallery Skyrim Stuff
Gallery Tasheni Followers
Gallery Tasheni’s Ethnic Winterclothes
Gallery The Pride of Teia – Redguard Ship
Terms of Services
Disclaimer
Download terms and conditions
Privacy Policy english / german
Tutorials
Log in
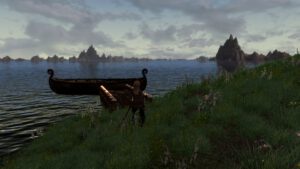
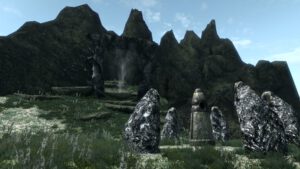
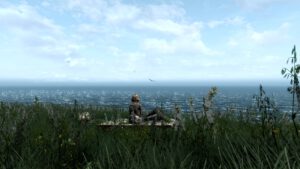
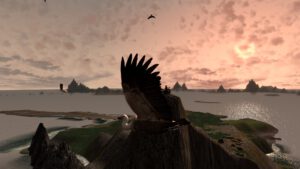
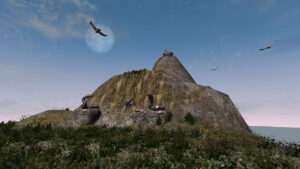
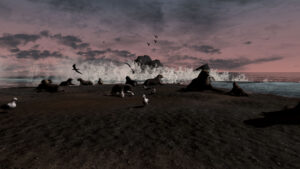
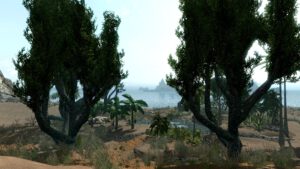
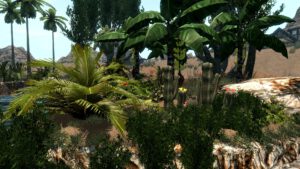
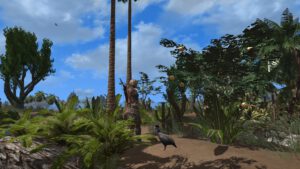
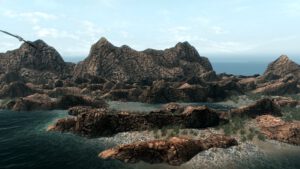
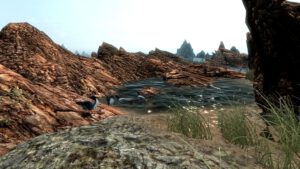
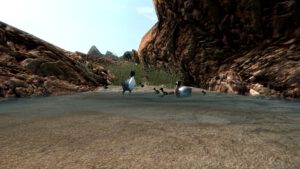
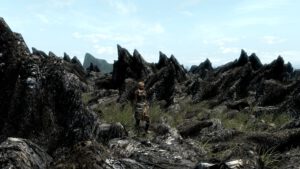
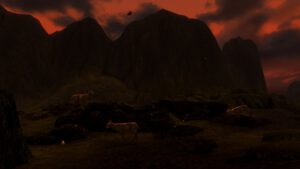
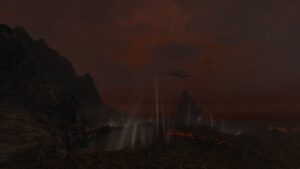
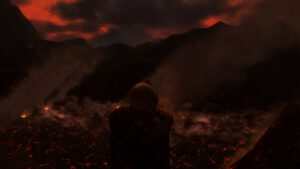
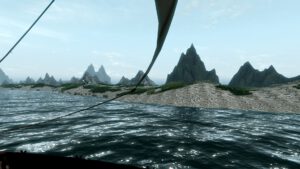
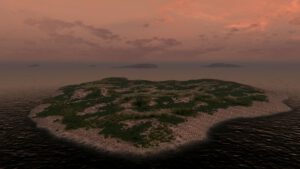
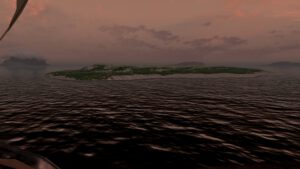
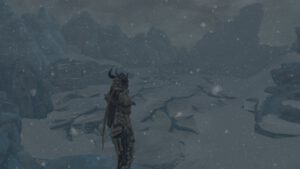
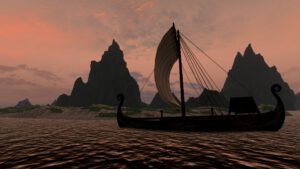
Gallery – The Isles of Teia Landscape
The Isles of Teia Showcase
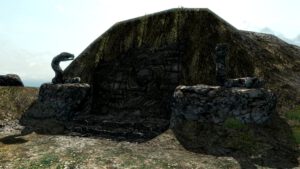
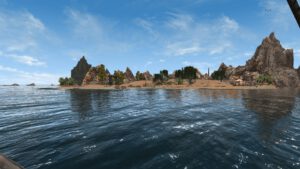
Bre
Bre Northside
Bre
Bre
Bre Southside
Bre Southside
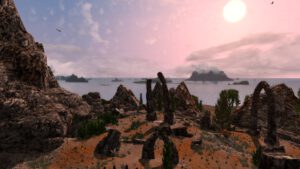
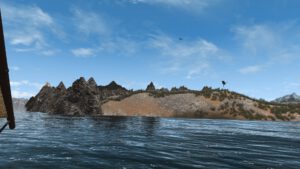
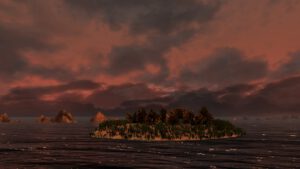
Ilmen
Ilmen
Ilmen
Ilmen
Ilmen – Lonely Rock
Ilmen – Lonely Rock
Ilmen Headland
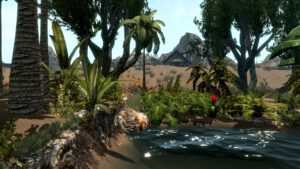
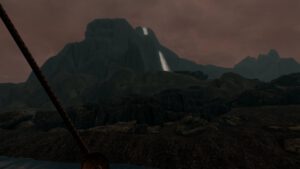
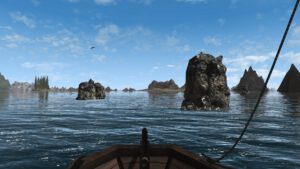
Rhun
Rhun – View to Ilmen and Molavar
Rhun
Rhun
Rhun
Bre
View to Ilmen and Molavar
Rhun
Rhun
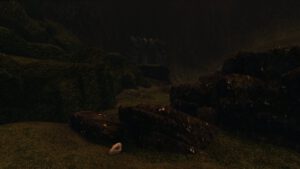
Hulkynd
Hulkynd
Hulkynd
View to Ilmen and Molavar
Yond
Yond
Yond
Yond
Molavar
Molavar
Molavar
Molavar
Molavar
Molavar
Molavar
Molavar
Tarn
Tarn
Pellani
Pellani
View to Tar
Tarn
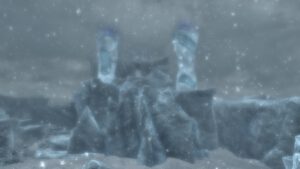
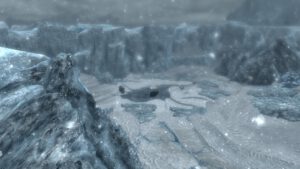
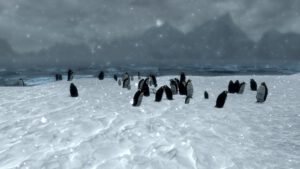
Angalayond
Angalayond
Angalayond – Kyne’s Kiss
Angalayond – Kyne’s Kiss
Angalayond
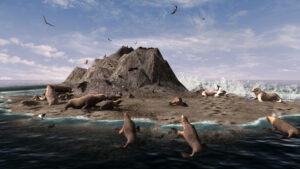
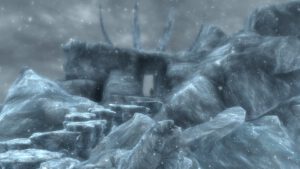
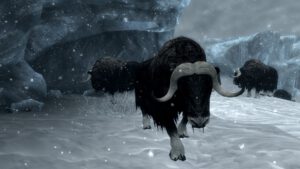
Angalayond – Musk Ox
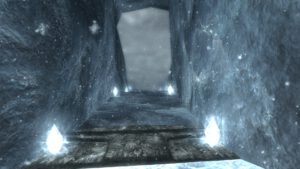
Angalayond
Angalayond
Angalayond
Angalayond
Angalayond
Angalayond
Angalayond
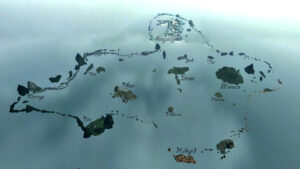
The Isles of Teia Map
Next:
Gallery – The Isles of Teia Dungeons and Interior
Leave a Reply
Cancel reply
You must be
logged in
to post a comment.